
When your car window stops working, the first question is always, “What’s actually broken?” It could be a simple blown fuse, a faulty switch, or the motor itself. Throwing parts at the problem without a proper diagnosis can be a frustrating and expensive guessing game. This guide starts by helping you become a detective. We’ll show you how to troubleshoot the common culprits to confirm if the motor is truly the issue. Once you’ve pinpointed the problem, we’ll provide a detailed walkthrough on how to repair a car window motor. By starting with a clear diagnosis, you can approach the repair with confidence, knowing you’re fixing the right part from the start.
Key Takeaways
- Identify the Problem Early: A window that moves slowly, makes grinding noises, or gets stuck is signaling a problem. Recognizing these signs helps you address the issue before you’re stuck with a window that won’t close.
- Know When to Call a Pro: Replacing a window motor involves removing the door panel and working with electrical parts. If you’re not comfortable with the process, a professional can handle the job quickly and correctly, saving you time and potential frustration.
- Prioritize Simple Maintenance: You can prevent premature motor failure with a few easy steps. Regularly cleaning the window tracks and lubricating the rubber seals helps the glass move freely, reducing strain on the motor and extending its life.
Is Your Car Window Motor Failing?
There’s nothing quite like the frustration of a car window that won’t go up or down. Whether it’s stuck open during a surprise rainstorm or won’t close at the end of the day, a faulty power window is a major inconvenience. The culprit is often a failing window motor, the small but mighty engine that powers the window’s movement. Before you can decide whether to tackle the repair yourself or call in a professional, you need to diagnose the problem. Let’s walk through the key signs of a failing motor and what your options are.
Key Warning Signs to Watch For
Your car will usually give you a few hints before the window motor gives out completely. If you notice any of these issues, it’s a good sign that the motor is on its last legs.
- Slow or inconsistent speed: The window struggles to move up or down, or it stops partway.
- Strange noises: You hear grinding, clicking, or squealing sounds when you press the window switch.
- No movement at all: You press the switch and get nothing but silence. The window is completely stuck.
- The switch works intermittently: Sometimes the window works perfectly, and other times it doesn’t respond at all.
These symptoms point directly to a problem with the motor or the connected regulator assembly.
What Are the Parts of a Power Window?
Your car’s power window system is a team effort. It consists of the switch on your door panel, the window motor that provides the power, and the window regulator, which is the mechanical track that lifts and lowers the glass. The motor and regulator are often sold as a single unit. Because most window motors are sealed, you typically can’t repair just one part of them; you have to replace the entire component. Understanding these basic parts will help you know what you’re looking at when you open up the door panel.
Should You Fix It Yourself or Call a Pro?
If you’re comfortable with basic car repairs and have the right tools, replacing a window motor can be a manageable DIY project. However, it involves removing the interior door panel, disconnecting electrical wiring, and carefully handling the window glass, which can be tricky. If you’re short on time or not confident in your mechanical skills, it’s often best to leave it to the experts. A professional can handle the job quickly and ensure everything is reassembled correctly, saving you a potential headache. Our team specializes in car window regulator repairs and can get it done right.
How Much Does a Window Motor Repair Cost?
The cost of a professional window motor replacement can vary depending on your vehicle’s make and model. On average, you can expect the total cost to be between $340 and $484. This price typically includes about $211 to $294 for the parts (the motor and regulator assembly) and another $129 to $190 for labor. While this gives you a general idea, the best way to know for sure is to get a quote specific to your car. This ensures you get an accurate price without any surprises.
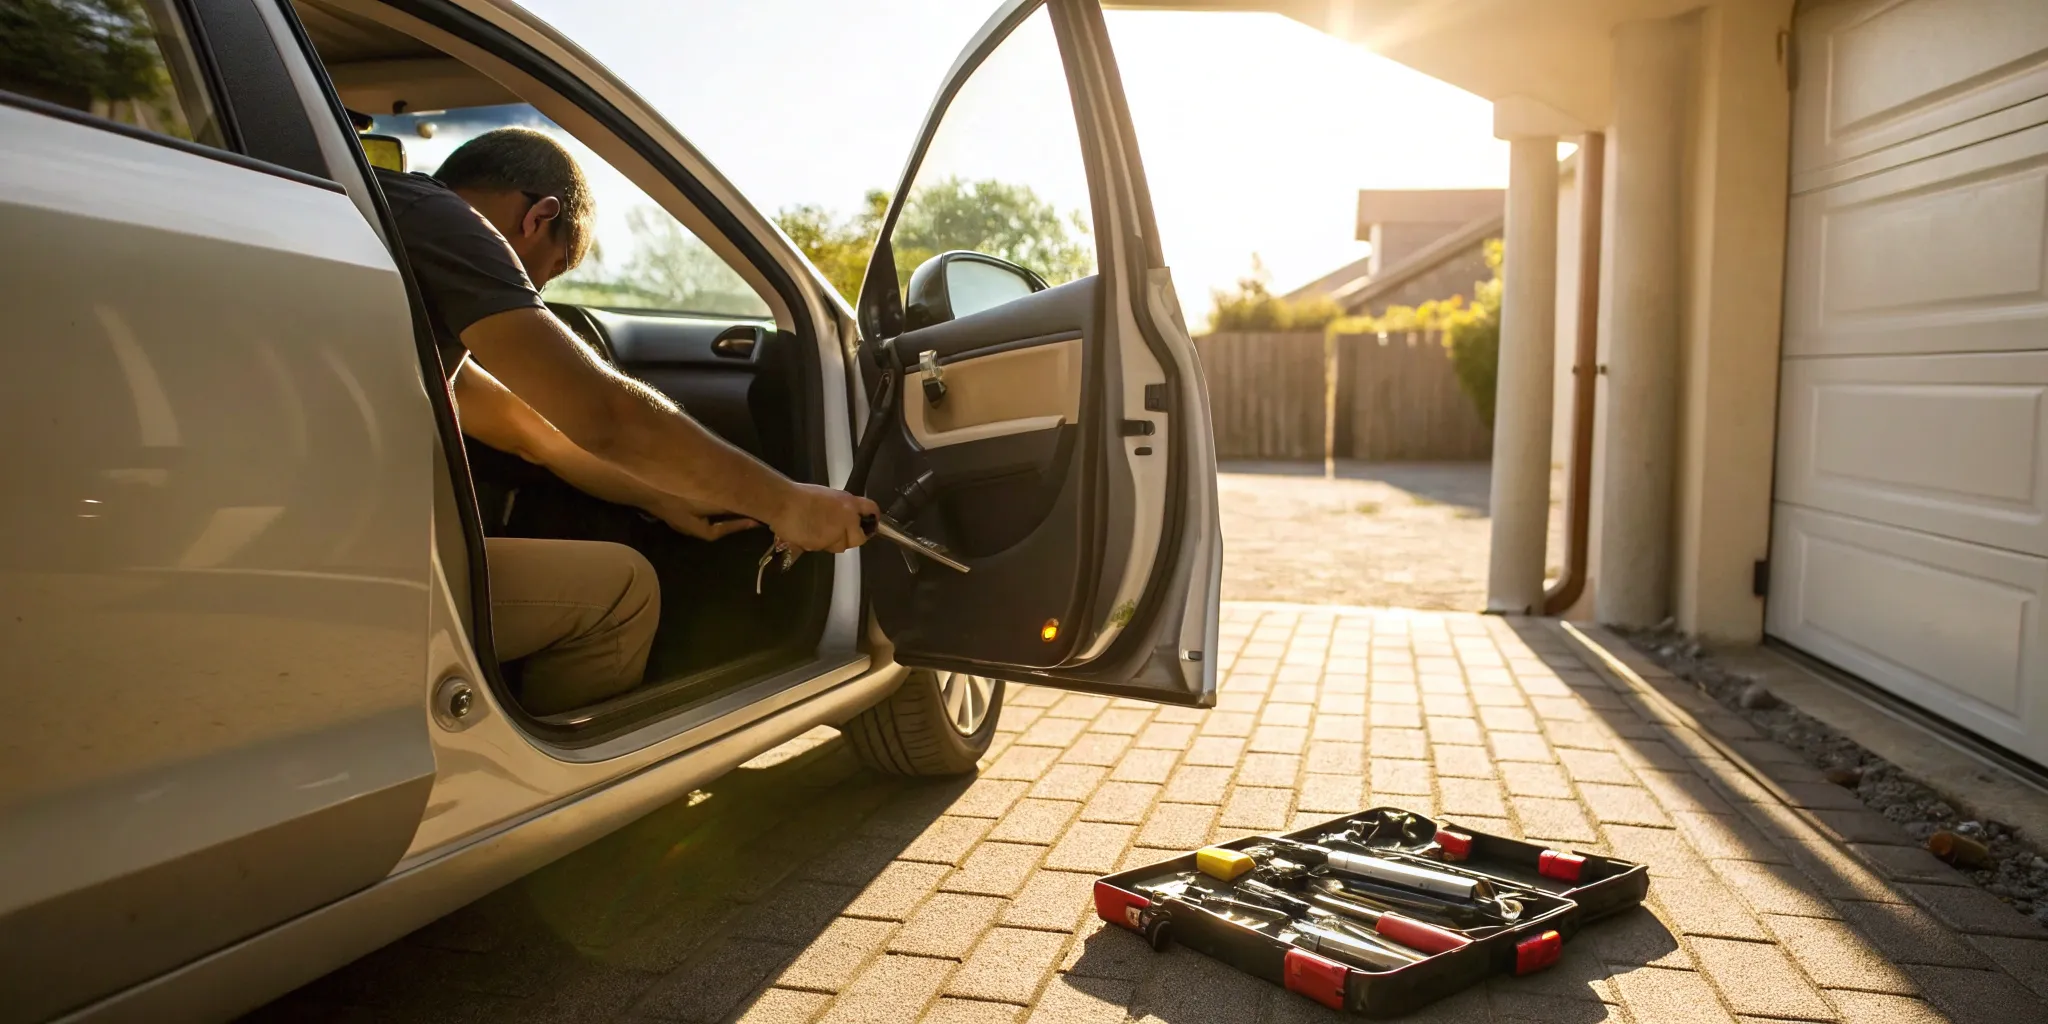
Get Ready: Tools and Safety First
Before you dive into taking your door panel apart, let’s talk about preparation. Getting everything you need in one place and understanding the safety basics will make this project go much smoother. A little prep work now saves you from headaches later. Think of it as setting up your station so you can focus on the task at hand without having to stop and search for a tool or worry about mishaps. This isn’t the most glamorous part of the job, but it’s arguably the most important for preventing a simple fix from turning into a major frustration.
Taking a few minutes to get organized is the first step toward a successful repair. We’ll walk through the tools you’ll need, the essential safety precautions to take, and how to handle the delicate parts of your car door. This way, you can work confidently and efficiently, knowing you’ve covered all your bases. A well-prepared workspace also helps protect your car’s interior from scratches or damage. If at any point this feels like too much, or if you’d rather just have it done quickly and correctly, remember that professional car window regulator repairs are always an option. Our team is here to help when you need it.
Gather Your Tools and Materials
You don’t need a professional mechanic’s entire toolbox for this job, but having the right tools is essential. You’ll typically need a set of screwdrivers (both Phillips and flathead), a socket set with a ratchet, and a trim removal tool kit to safely pry off the door panel without scratching it. It’s also a good idea to have some masking tape, a pair of work gloves, and a small container to keep track of all the screws and clips you remove. Having a flashlight or a headlamp can also be a huge help, as it can get pretty dark inside a door panel.
Follow These Essential Safety Rules
Your safety is the top priority. Before you start any work, you must disconnect the car’s battery. This prevents any electrical shorts that could damage your car’s electrical system or, more importantly, cause injury. It’s a non-negotiable first step for any project involving your car’s electronics. Also, make sure you’re wearing safety glasses to protect your eyes from any debris that might fall while you’re working inside the door. Taking these simple precautions ensures the repair process is safe from start to finish.
How to Safely Disconnect Your Car Battery
Disconnecting your car battery is straightforward. First, locate the battery, which is usually under the hood. Using a wrench, loosen the nut on the negative terminal—it’s typically marked with a minus sign (-) and may have a black cover. You don’t need to remove the nut completely, just loosen it enough to wiggle the cable off the terminal post. Once it’s off, tuck the cable to the side so it can’t accidentally touch the terminal again. That’s it! Your car’s electrical system is now safely disconnected.
Handle the Window Glass with Care
Your car’s window glass is more fragile than you might think. Before you remove the motor, it’s a great idea to roll the window all the way up (if you can) and secure it in place. You can do this by running a few strips of strong masking tape from the glass over the top of the door frame. This prevents the window from unexpectedly dropping and shattering once you disconnect it from the regulator. When you’re working, be mindful not to bump or hit the glass with your tools. A cracked window turns a simple motor swap into a much bigger auto glass replacement.
Set Up Your Workspace
A clean and organized workspace will make this job much easier. Lay down a blanket or a piece of cardboard to protect your door panel when you remove it. As you take out screws and clips, place them in your container so nothing gets lost. Once you have access to the window regulator, it’s a good idea to clean any old, grimy grease from the moving parts before applying a fresh coat. This helps the new motor operate smoothly and can extend its life. A little tidiness goes a long way in making reassembly a breeze.
Your Step-by-Step Guide to Fixing the Window Motor
Ready to get your hands dirty? Fixing a window motor can feel like a big job, but breaking it down into manageable steps makes it much more approachable. Follow this guide to diagnose the issue, replace the faulty part, and get your window gliding smoothly again. Remember to work carefully and have your tools ready before you begin.
Start with a Quick Diagnosis
First, let’s confirm the motor is actually the problem. You’re likely dealing with a failing motor if your window moves incredibly slowly, stops partway up or down, or makes grinding noises when you hit the switch. If the window doesn’t move at all and you don’t hear anything, that’s another strong sign. These symptoms point to an issue within the door’s mechanics, often related to the motor or the entire car window regulator assembly. Distinguishing between a bad switch and a bad motor is key, so listen closely for any sounds from inside the door when you press the button. A complete silence often suggests an electrical issue before the motor, while a humming or grinding sound points directly to the motor itself.
How to Remove the Door Panel
Getting to the motor means removing the interior door panel. This is often the most intimidating step, but it just requires a bit of patience. Start by looking for screws, which are usually hidden behind small plastic covers in the armrest, door handle, or along the panel’s edges. Once you’ve removed all the screws, you’ll need to release the plastic clips holding the panel to the door frame. A trim removal tool is your best friend here, as it lets you pry the panel off without scratching the paint or breaking the clips. After the panel is loose, carefully disconnect any electrical connectors for the window switches, locks, and speakers before setting it aside.
Remove and Test the Old Motor
With the door panel off, you can now see the window regulator and motor. You may need to move the glass to an accessible position to reach the motor’s mounting bolts. Once you can get to it, carefully unbolt the motor from the regulator assembly and unplug its wiring harness. Before you buy a new one, it’s smart to test the old motor to be 100% sure it’s the culprit. You can do this by using a 12-volt battery and some jumper wires. Connect the wires from the motor directly to the battery terminals. If the motor doesn’t spin, it’s dead. If it does spin, the problem might be with the switch or the wiring.
Clean and Lubricate the Window Regulator
While you have everything apart, take a moment for some preventative maintenance. The metal tracks of the window regulator can get clogged with dirt and old, hardened grease over time. This buildup forces the motor to work harder, which can lead to premature failure. Use a rag and some brake cleaner to wipe the tracks clean. Once they’re dry, apply a fresh coat of silicone spray or white lithium grease. Move the window mechanism up and down by hand a few times to spread the lubricant evenly. This simple step ensures your new motor will have an easier job, extending its life and keeping your window moving effortlessly.
Install the New Motor and Reassemble the Door
Installing the new motor is essentially the reverse of the removal process. Line it up with the mounting holes on the window regulator and secure it with the bolts you removed earlier. Be sure to tighten them snugly so there’s no wiggle room. Next, plug the new motor into the car’s wiring harness, making sure the connection is secure. Before you put the door panel back on, take a second to double-check that you’ve reconnected all the other electrical components, like the power locks and speakers. It’s easy to forget a plug, and you don’t want to have to take the panel off again. Winaffix handles a wide range of auto glass services if you find other issues along the way.
Test Your Work
This is the moment of truth. Before you snap the door panel completely back into place, temporarily reconnect the window switch. With the battery reconnected, press the switch to test the new motor. The window should move up and down smoothly and at a normal speed. Run it through a full cycle a couple of times to ensure everything is working as it should. If it’s all good, you can confidently reattach the door panel, secure all the screws, and pop any trim covers back on. If you’ve followed the steps but the window still won’t work, don’t worry. Sometimes a repair is more complex than it seems, and you can always get a quote from a professional to finish the job.
Troubleshooting Common Window Motor Issues
So, you’ve taken the door panel off, but the window still won’t budge. Before you replace the motor, it’s smart to do a little detective work to pinpoint the exact problem. Often, the issue might be simpler than a completely failed motor. Running through a few diagnostic steps can save you time, money, and the headache of replacing a part that was working just fine. From simple electrical glitches to mechanical jams, let’s walk through how to figure out what’s really going on inside your car door.
Solving Electrical Problems
Electrical issues are a common cause of power window failure. The problem could be as simple as a blown fuse or as complex as a wiring short. A great first step is to check your car’s fuse box. Your owner’s manual will show you which fuse corresponds to the power windows. If the fuse looks good, the next step is to see if the motor is getting power. A straightforward way to do this is by using a 12-volt battery to test the motor directly. This test bypasses the car’s switches and wiring, telling you if the motor itself is capable of working. If these electrical checks feel a bit out of your league, our team is always ready to handle complex car window regulator repairs.
Fixing Mechanical Jams and Failures
Sometimes the motor isn’t the problem at all—it’s the mechanism it’s trying to move. The window regulator assembly can get jammed with dirt, debris, or rust. In fact, it’s very common for a motor to stop working simply because moisture has gotten inside and caused parts to seize up. Before you blame the motor, carefully inspect the regulator tracks. Are they bent or blocked? Cleaning the tracks and applying a silicone-based lubricant can often solve the problem. A little preventative maintenance here can go a long way in keeping your windows gliding smoothly for years to come.
Checking the Switches and Connections
Don’t forget about the window switch! It’s the part you use every day, and it can wear out over time. A faulty switch won’t send a signal to the motor, making it seem like the motor is dead. You can often test this by listening carefully. When you press the switch, do you hear a faint click from inside the door? If not, the switch or its connection might be the issue. If your window is stuck in the down position, you can often secure the glass by carefully grabbing it with both hands and sliding it up into the frame. This gets it out of the way while you investigate the switch and its wiring.
How to Test the Motor’s Function
If you suspect the motor is the culprit, you can perform a definitive test to be sure. To do this, you’ll need to access the motor’s electrical connector. “To test your window motor, get a 12-volt battery and find the two wires (one positive and one negative). Use alligator clips to connect the wires from the motor to the battery.” If the motor whirs to life and starts to spin, you know it works. If you reverse the polarity of the clips, it should spin in the opposite direction. However, “if nothing happens when you connect the battery, the motor isn’t working.” This simple test gives you a clear yes or no answer.
Using a Multimeter to Find the Problem
For a more technical approach, a multimeter is your best friend. This tool helps you check for electrical current without having to remove the motor. A professional mechanic often starts by checking the fuse and listening for motor sounds, but a multimeter gives a precise reading. You can use it to test for power at the window switch and at the motor’s connector. By checking for voltage when the switch is pressed, you can determine if power is being sent and where it’s stopping. This helps you figure out if the problem lies in the switch, the wiring, or the motor itself. If you’re not comfortable with this step, it might be time to call in a pro for our expert services.
Keep Your Power Windows Working Smoothly
A little bit of maintenance goes a long way in preventing bigger headaches down the road. Your car’s power windows work hard, and over time, everyday use can lead to wear and tear. By paying a little attention to them, you can extend the life of the window motor and regulator, ensuring they operate smoothly for years to come. These simple habits and checks can save you from the frustration of a stuck window and the cost of an unexpected repair.
Simple Tips for Regular Inspections
Make it a habit to check your power windows at least once a month. Simply roll each window all the way down and back up. As you do, listen carefully for any unusual sounds like grinding, clicking, or squealing. Also, watch how the window moves. Does it seem slower than usual, or does it hesitate or stutter on its way up or down? Catching these small changes early can be the key to preventing a complete failure. Window motors can wear out from age and normal use, but issues are often accelerated by dirt and moisture getting into the door panel, causing rust and extra strain. A quick monthly check helps you spot trouble before it starts.
How to Use Your Power Windows Correctly
You might not think there’s a “wrong” way to use your power windows, but a few simple habits can reduce stress on the motor and regulator. If your window is frozen shut in the winter, avoid hitting the button repeatedly. Instead, give your car time to warm up and melt the ice before trying to lower the glass. Forcing it can strip the gears or burn out the motor. It’s also a good idea to avoid leaving your windows slightly cracked open when driving on bumpy roads or slamming the door, as the vibrations can put extra stress on the regulator assembly that holds the glass.
Easy Preventive Maintenance You Can Do
You don’t need to be a mechanic to perform some basic upkeep. One of the easiest and most effective things you can do is keep the window tracks clean. Dirt, leaves, and other gunk can build up in the rubber seals, creating friction that makes the motor work harder. Use a soft cloth or a small brush to clean out the tracks. Afterward, applying a light coat of silicone spray lubricant to the rubber seals can help the glass glide smoothly. This simple task only takes a few minutes per window and can significantly extend the life of your power window components.
When to Repair vs. Replace the Motor
When your window stops working, you might wonder if you can just fix the motor. The answer depends on the problem. Sometimes, the issue is a simple electrical fault, like a loose wire or a faulty switch, which is a straightforward repair. However, most modern window motors are sold as sealed units. This means if the internal gears are stripped or the motor itself has burned out, you can’t really take it apart to fix it. In these cases, the entire motor assembly needs to be replaced. Getting a professional opinion can help you understand your options and the potential cost of the repair.
Signs It’s Time to Call for Professional Help
While a DIY approach can be satisfying, some jobs are best left to the experts. If you notice any clear signs of motor failure, it’s probably time to make a call. These red flags include the window moving extremely slowly, stopping partway up or down, or making loud grinding noises. If the window doesn’t move at all when you press the switch, or if it drops suddenly into the door, that’s another clear signal. Trying to fix a complex mechanical or electrical issue without the right tools and experience can lead to more damage. When you reach that point, our team can handle your car window regulator repairs quickly and safely, getting you back on the road with a perfectly working window.
Related Articles
- Window Power Repair: A Guide to DIY & Costs
- Power Window Repair: Your Guide to Cost & Fixes
- The Ultimate Guide to Automotive Power Window Repair
Frequently Asked Questions
How can I tell if it’s the window motor or just the switch that’s broken? A great way to figure this out is to listen closely. Turn off your radio and any fans, then press the window switch. If you hear a faint clicking or a humming sound coming from inside the door panel, it means the switch is sending power, but the motor isn’t able to do its job. If you get complete silence, the problem is more likely to be the switch, a fuse, or the wiring.
My window is stuck in the down position. What can I do right now to secure it? If your window is stuck open, you can usually slide it up manually for a temporary fix. Place your palms on either side of the glass and carefully, but firmly, push it upward into the door frame. Once it’s fully closed, use a few strips of strong tape, like packing or duct tape, across the top of the glass and onto the door frame to hold it in place until you can get it repaired.
Do I have to replace the entire regulator assembly, or can I just buy the motor? While the motor and the regulator are technically two different parts, they are most often sold and replaced as a single, combined unit. This is because they work so closely together, and replacing both at the same time ensures all the moving parts are new and compatible. It generally makes for a more reliable and longer-lasting repair.
How long does a professional window motor replacement usually take? One of the biggest benefits of having a professional handle this repair is the speed. For an experienced technician, replacing a window motor and regulator is a routine job. You can typically expect the entire service to be completed in about an hour, getting you back on your way with a fully functional window.
Is a broken window motor something my car insurance might cover? It’s possible, but it depends entirely on your specific insurance policy. This type of repair would typically fall under comprehensive coverage, not liability or collision. The best first step is to review your policy documents or call your insurance agent to confirm what’s covered. We are also happy to help you with the auto glass claims process.
